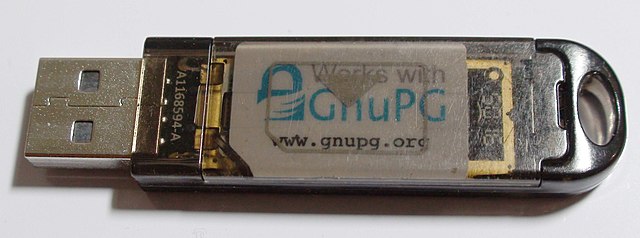
This article shows how to set up an SSH server so that users can authenticate :
- either with a hardware token (FIDO-compatible actually)
- or with a two-factor authentication (2FA) process, using their password and a one-time password (OTP)
- from the intranet, with a standard SSH key
In order to do that, we will see how to :
- set up SSH for TOTP (with a PAM module)
- generate an OTP secret and “pair” with the user’s OTP application
- set up SSH for FIDO authentication
- set up the hardware token (I’m using a YubiKey here)
- generate a FIDO key on the hardware token and “pair” with the server
Note
This setup is only an example but should be a good starting point to build and tune your own authentication workflow.
Let’s start with OTP setup !

Server host setup
In order for a “One-Time Password” (OTP) to be asked for after the usual password, we have to install a PAM module (Pluggable Authentication Module) on the server side. The module is google-authenticator-libpam : it’s from Google but it works with any TOTP-or-HOTP-compatible generator application.
Please note that this is not SSH-specific, the module will work for all authentications on this machine.
First install the module :
sudo apt install libpam-google-authenticator
And enable it by editing PAM configuration ; here a sample /etc/pam.d/common-auth file :
# 1. here are the per-package modules (the "Primary" block)
# pam_unix is the standard password authentication
# success=1 means to bypass one step (here pam_ldap.so) straight to the OTP module
auth    [success=1 default=ignore]      pam_unix.so nullok_secure
# In this sample setup, we allow users to connect with their LDAP password
# success=ok means to go to the next step (which is the OTP module)
auth    [success=ok default=ignore]     pam_ldap.so minimum_uid=1000 use_first_pass
# Finally, the OTP password is asked
# In case of success the 'deny' step is bypassed, leading to the 'permit' module
auth    [success=1 default=ignore]      pam_google_authenticator.so

# 2. here's the fallback if no module succeeds
auth    requisite                       pam_deny.so

# 3. prime the stack with a positive return value if there isn't one already;
# this avoids us returning an error just because nothing sets a success code
# since the modules above will each just jump around
auth    required                        pam_permit.so
From here, each user must generate a secret on the server in order to log in ! So, DO NOT LOG OUT now or generate an OTP secret for yourself (see below) and test the authentication before !
There are other possible layouts for the PAM configuration, like nullok to allow users to log in without OTP until they have set it up : github.com/…/google-authenticator-libpam.
For this PAM configuration to work with SSH you will have to enable the corresponding authentication method in /etc/ssh/sshd_config :
# Allows OTP authentication
KbdInteractiveAuthentication yes
#ChallengeResponseAuthentication is a deprecated alias for KbdInteractiveAuthentication
#ChallengeResponseAuthentication yes

# Actually enables it
AuthenticationMethods keyboard-interactive
And restart the SSH server :
sudo sshd -t && sudo service ssh restart
Per-user setup
To connect using OTP, each user must have a ~/.google_authenticator file on the server, with the OTP secret and configuration. Running the following console-interactive process on the server will create this file and print informations to import the secret into an OTP application (e.g. via a QRCode) :
# Runs a console-interactive process
google-authenticator
You may need some help to get the right answers.
Once generated, the secret file can be copied to other hosts in order to reuse the same OTP entry (of course you have to make sure users are not blocked by OTP until they can upload their secret) :
# Once done, send the file to other hosts where you want to use
# the same OTP secret (e.g. same network servers)
scp ~/.google_authenticator me@anotherhost.intranet
# This should not be necessary, but might help if the file was manually crafted
ssh me@anotherhost.intranet 'chmod 0600 ~/.google_authenticator'
Some good open source OTP apps for Android and iOS :
A successful connection with OTP will look like this :
$ ssh me@somehost.intranet
(me@somehost.intranet) Password:
(me@somehost.intranet) Verification code:
You have new mail.
me@somehost.intranet:~$
Now let’s add authentication with a hardware token


Since OpenSSH 8.2 it is possible to authenticate with a FIDO device, which brings support for a whole lot of hardware tokens.
Note
Before 8.2, there were procedures like using a specific yubico-pam module for YubiKeys (not described here).
The process is the same as with public key authentication but with a specific type of key, and you need your hardware token to be plugged in at authentication time.
Client setup
Set a PIN on the FIDO2 token
In order to use a resident key (see below) on a FIDO2 device, you will probably be required to set a PIN.
Note
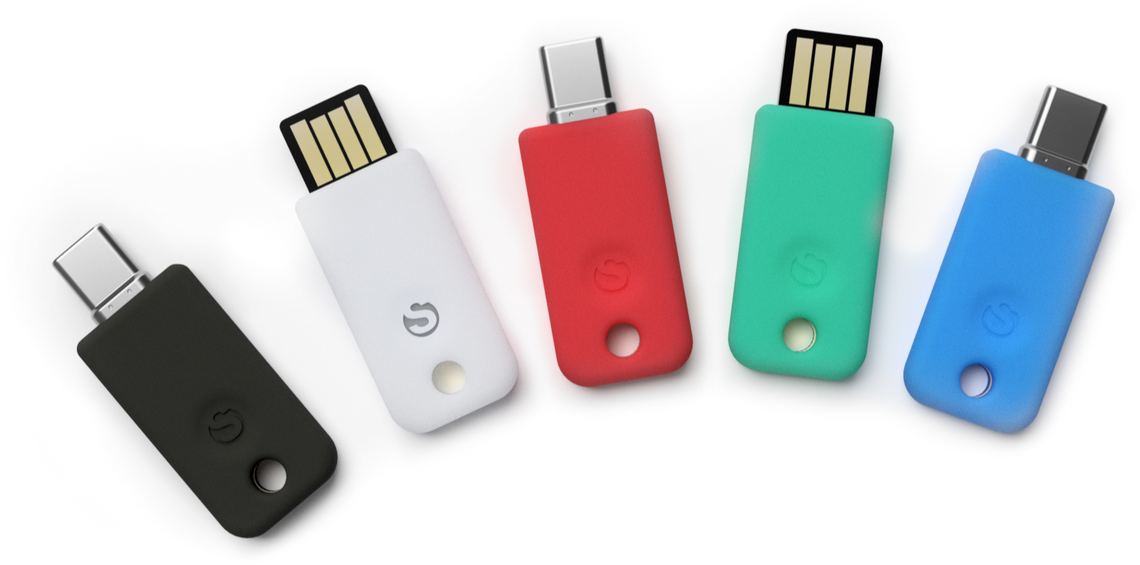
Instructions in this paragraph are specific for YubiKey because it’s the one I had for my tests but the rest of the article should work seamlessly with any other FIDO2 devices (SoloKeys, Nitrokey, OnlyKey, … ) which may additionally bring interesting features like full open source design, reversible USB-A, firmware upgrades, hardware password manager, …
For a YubiKey, you will need to install the YubiKey Manager (ykman). You will not need the YubiKey Personalization Tool for this tutorial, if you wonder.
If you’ve never set up a PIN on your YubiKey, simply run :
# Sample OS-independent installation command
pip install --user yubikey-manager
# Set the PIN for the first time
ykman fido access change-pin --new-pin tfbZxxGY3r
It’s important to note that the PIN is not limited to digits, FIDO2 allows up to 63 alphanumeric characters !
Generate an SSH key
Each user must then generate a compatible private key ; run this on a client workstation (choose between option a or b) :
# (option a) Generates a 'resident' key on the token so that it can be used on other computers
# Replace 'NameYourKeyHere' with some string to identify this key
# from others on the hardware token (e.g. 'intranet')
ssh-keygen -t ed25519-sk -O resident -O application=ssh:NameYourKeyHere -O verify-required -f ~/.ssh/ed25519_sk_yubikey1

# OR (option b) Generates a key that will only be usable from this computer
ssh-keygen -t ed25519-sk -f ~/.ssh/ed25519_sk_yubikey1

# Authorize it to the remote machines
# I've observed that you may need to force with '-f' if you already have keys there
ssh-copy-id -i ~/.ssh/ed25519_sk_yubikey1.pub me@somehost.intranet
ssh-copy-id -i ~/.ssh/ed25519_sk_yubikey1.pub me@anotherhost.intranet
You could use -t ecdsa-sk key type instead. From what I understand, ecdsa-sk is more compatible ; ed25519-sk is not affiliated with NIST.
The -O resident parameter (option a) puts all key material on the hardware token, meaning that you will be able to use it from another computer (ssh-keygen -K will extract some key handle from the token into ~/.ssh/ on the local machine). In this case, -O verify-required is also used so that a PIN is required. This is only available for FIDO2 devices.
On the contrary, the alternative (option b) command will require a private key to be present on the computer in addition to the hardware token, meaning that another person will not be able to log in from another computer even she finds/steals the hardware token. This works with older FIDO devices.
More explanations in the release notes of OpenSSH.
It is a good practice to repeat all those steps with another security token, so you are not locked-out in case you loose one, but you might also use the OTP process to recover.
Setting up the SSH client
Finally, users should make sure that their SSH client configuration is ready to use their FIDO keys. Here is a partial ~/.ssh/config (more infos in the man page) :
# Makes sure public key authentication is enabled
PubkeyAuthentication yes
# In some weird configurations you might also want to check that
# PreferredAuthentications includes publickey

# Specify my keys for all hosts of the intranet (example)
Host *.intranet
  IdentityFile ~/.ssh/id_rsa
  IdentityFile ~/.ssh/ed25519_sk_yubikey1
  IdentityFile ~/.ssh/ed25519_sk_yubikey2
Client is ready !
SSH server setup
Now, the server part.
First make sure your server runs OpenSSH ≥ 8.2/8.2p1. With older Debian systems you can get it from backports.
Then check /etc/ssh/sshd_config (some parts are common with OTP above) (more infos in the man page) :
# Public key authentication is used for keys on FIDO devices
PubkeyAuthentication yes

# Actually enables it (we also keep keyboard-interactive for OTP)
AuthenticationMethods publickey keyboard-interactive

# Makes sure to allow enough tries for users who have many keys
# otherwise, they may encounter a 'Too many authentication failures' error
# even before their FIDO key is tried...
MaxAuthTries 9

# We also enable classic publickey authentication from the local network,
# so connecting from there does not require a password nor a security token.
#
# Because 'PubkeyAuthentication' enables or disables both classic and FIDO keys
# at the same time, we use 'PubkeyAcceptedKeyTypes' to limit key types to FIDO
# by default. Because of the negative matches ('!'), this is applied only if
# it does NOT match a local network address.
#
# Beware that this may not work as expected if connections to the SSH server
# go through a (reverse) proxy or router which does not correctly relay the original client IP !
Match Address "!10.0.0.0/8,!172.16.0.0/12,!192.168.0.0/16,!fe80::%eth0/10,*"
    PubkeyAcceptedKeyTypes sk-ssh-ed25519@openssh.com,sk-ssh-ed25519-cert-v01@openssh.com,sk-ecdsa-sha2-nistp256@openssh.com,sk-ecdsa-sha2-nistp256-cert-v01@openssh.com
The Match Address block is to allow normal public key authentication from the local network only ; read the comments carefully.
Now restart the SSH server :
sudo sshd -t && sudo service ssh restart
From another session, try to authenticate :
$ ssh somehost.intranet
# The following message may be different or even absent (your token might be flashing) !
# See https://developers.yubico.com/SSH/Securing_SSH_with_FIDO2.html#_troubleshooting
Confirm user presence for key ssh:NameYourKeyHere
# Then, touch your FIDO2 token
You have new mail.
me@somehost.intranet:~$
You’re in !
Bugs and limitations
Agent refused operation
When your hardware token is not plugged in, you might have the following message :
sign_and_send_pubkey: signing failed for ED25519-SK "/home/me/.ssh/ed25519_sk_yubikey1" from agent: agent refused operation
This is not blocking and SSH will use another method to authenticate (another ssh key or OTP).
Non-interactive logins
OTP and FIDO2 “touch” method are suited for interactive login, but you might need to keep SSH public key authentication open for background services (e.g. mounting remote filesystems via SFTP).
In this case finer tuning is possible by targeting specific users in the SSH configuration.
References
- Tutorials :
- Tutorials on OTP + SSH :
- YubiKey :
- Linux PAM :
- More links :

